
If you read my last blog on teaching reinforcement learning then recall the good, better, best solutions I presented. This time I want to talk about the mechanics of image convolution with a similar trifecta. If you are not familiar with the concept, convolution is a mathematical operation (a small matrix.) that is used for blurring, sharpening, embossing, edge detection, and other image processing processes. However, this time I want to focus more on how this could be a progression from theory, through practice, to application. This is another way we often think about scaffolding solutions when developing curriculum for theory-heavy topics, such as image processing or machine intelligence.
The Theory: Learning through explanation
If you were to learn about convolution in a mathematical context it might look something like this:

In simple terms, for each location in a data array, a new value g(x,y) is calculated by multiplying a kernel matrix ω element-wise by the current value f(x,y) and surrounding values in the range -a < dx < a and -b < dy <b.
Chances are, this did not give you any real grasp of the purpose of this process, nor any real idea of how to implement it. Teaching students the underlying theory is important for later understanding, but it can be hard to see the value in pure theory.
Perhaps it would help to look more closely at the kernel matrix. Here are some examples of common kernels and the operations they are used for:
 |
 |
 |
| Sharpen | Blur | Detect Edges |
Source: Wikimedia
This, at least, gives one a sense of what you might do with this tool, but this is still a far cry from a practical example, and only those students who are particularly interested in the raw mechanism of image processing are likely to remain engaged long enough to really grasp the concept.
Luckily, this is already enough theory to move on to the next level on our scaffold.
The Practice: Learning through demonstration
Once students have enough of a grasp of what is going on, they are probably eager to see the theory applied to a practical example. For this stage we move to an analytical software environment where we can use a convolution operation to observe the effects on image data. In our case we are going to use MATLAB® and follow some predefined steps. This approach can be used to demonstrate the process in a lecture setting or to guide the students through performing the task themselves in a lab or seminar environment.
This experience is a middle ground between the passive, rigidly defined experience of a lecture, and the active exploratory environment of an applied lab.
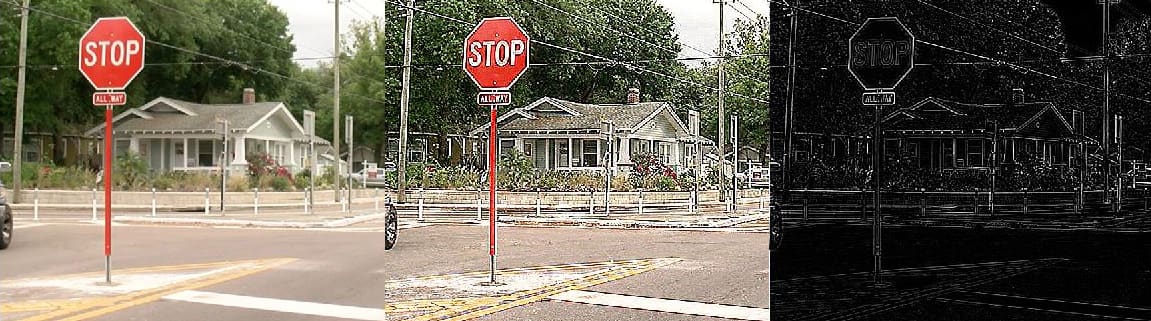
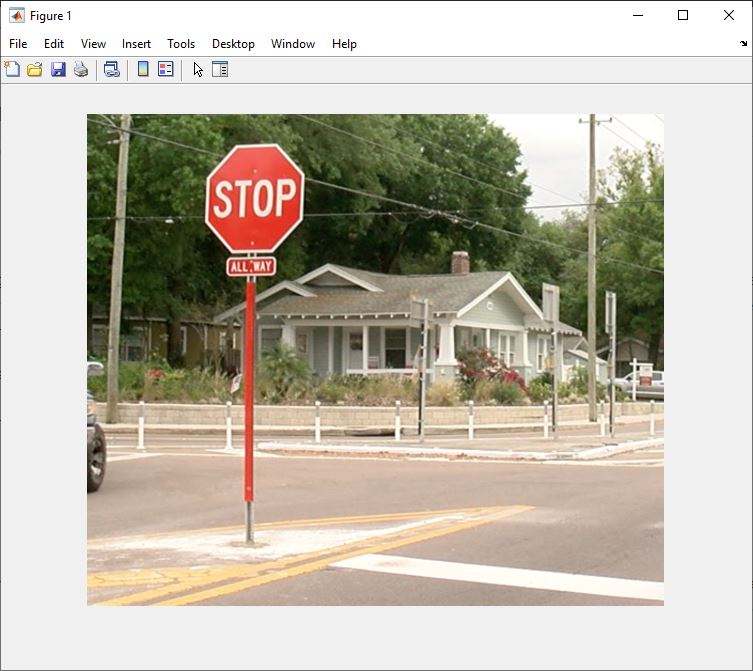
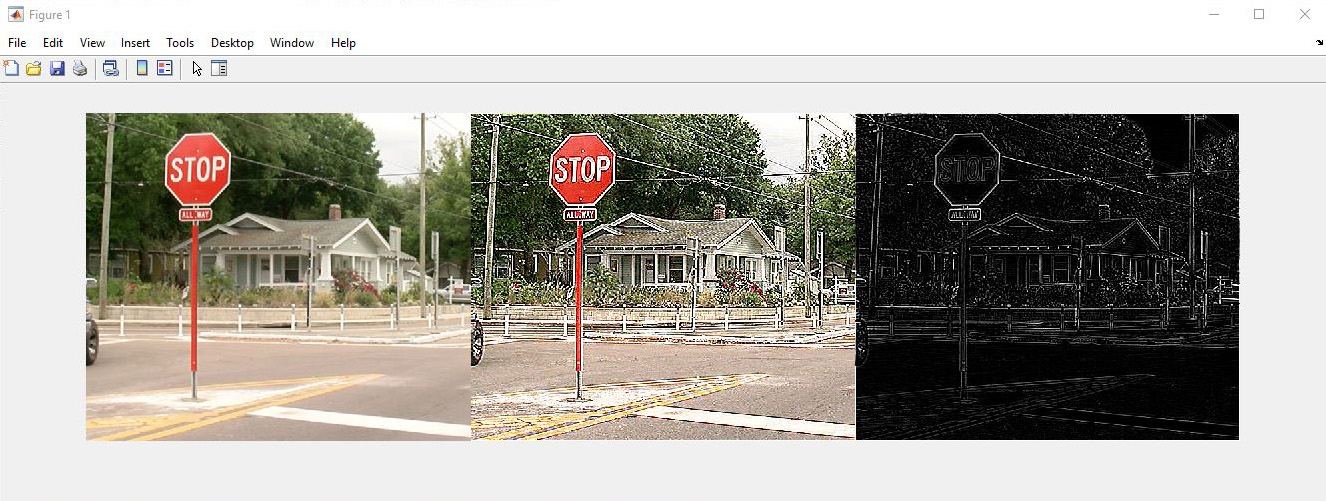
Provided with a MATLAB script and sample image such as this:
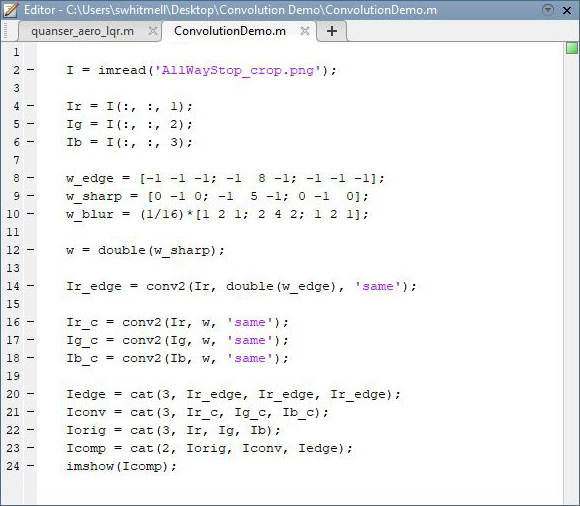
Students can adjust, tweak, or entirely replace the convolution kernel and achieve a wide range of image manipulation processes
This level of the scaffold facilitates a deeper understanding of the theory while limiting the demands on student time and computer hardware. This is especially important with remote learning becoming increasingly popular. As much as it is a practical experience, it is not a true application. For that, we must add an element of goal-oriented design.
The Application: Learning through experimentation
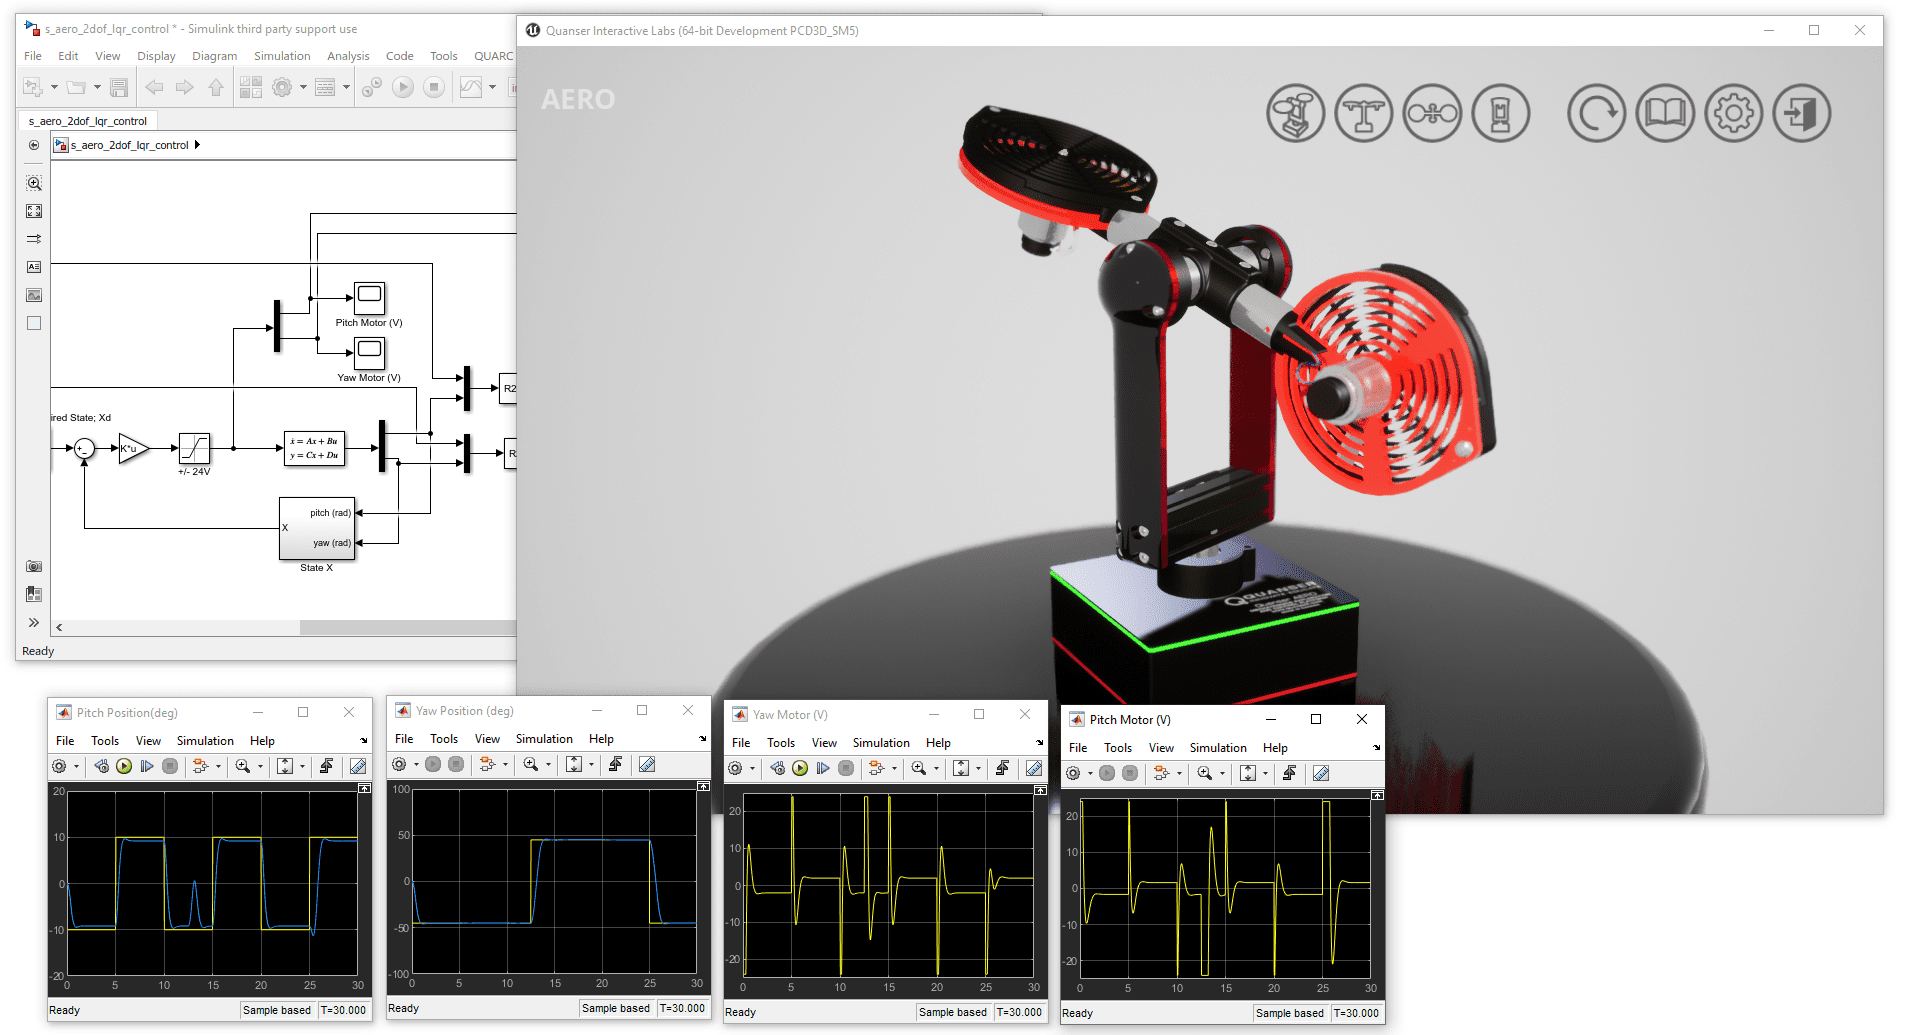
The ultimate context for learning image processing is in a real-time physical (or virtual) application. At this point, we are dealing with video data from a camera on a mobile robot or manipulator. In this context, computer vision surpasses the basic processes of image manipulation and we begin to see how these processed images might be used to make decisions in an autonomous system.
This experience can be undertaken with a physical camera mounted to some sort of manipulator. Possible platforms range from a simple servo motor as shown in this video about tracking April Tags with a Qube Servo 2.
Or as complex as an autonomous vehicle like the QCar doing advanced autonomous tasks like lane following
Or even a serial manipulator like the QArm which sports the same RealSense camera used on the QCar. The image processing applications are handily platform-agnostic. The key to making this lab experience immersive is the removal of technical barriers such as video streaming and preprocessing. This allows students to focus on the exciting aspects of the application, such as analysis and decision making.
The other advantage to this application stage is that it provides a step on the way to a more general Mechatronics application, meaning that this could serve as a practical experimentation ground for tasks such as Localization and Mapping or Path Planning.
The Culmination: Learning through interlinking
Though not explicitly part of the pedagogical scaffold presented above, there is much to be gained by gathering all these experiences into a culminating task. Having experienced all three levels of the scaffold, your students will now be particularly well prepared for an open-ended application challenge. This is where the virtual environments developed for the QCar and QArm can be particularly valuable since students can prototype and test in a virtual environment before validating on hardware. With this approach, student groups can freely experiment in a low-risk environment but see the fruits of their labour tested on research-grade hardware. If applied correctly, students will be able to look back from their final task and see the value of the entire scaffold, Some will be motivated to carry what they learned in this specific case to other future challenges.